Finding replacement wheels for your child's Peg Perego John Deere tractor shouldn't be a challenge. Inconsistent product information and a confusing array of options often leave parents frustrated. This comprehensive guide simplifies the process, providing clear instructions and helpful advice to get your little one back to playtime quickly and safely.
Identifying Your Tractor's Model: The Crucial First Step
Before purchasing replacement wheels, accurately identifying your tractor's model number is paramount. This number ensures compatibility and avoids costly mistakes. The model number, often found on a sticker or plate, is usually located beneath the tractor seat or on the body. Common models include the Igor0039 and Igor0069, but many others exist. Photographing the model number to avoid transcription errors is highly recommended.
Understanding Wheel Types and Configurations
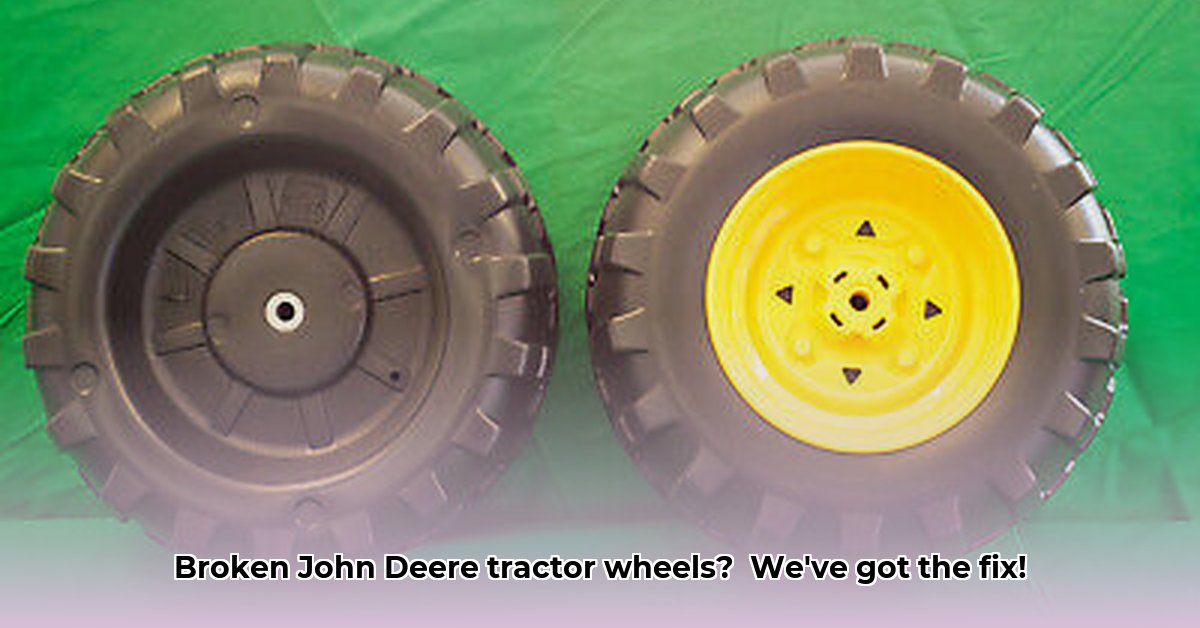
Peg Perego John Deere tractors utilize various wheel types and configurations. Understanding these differences is critical for selecting the correct replacements. This includes differentiating between front and rear wheels (rear wheels are generally larger for better traction), and choosing between two-wheel packs and four-wheel sets. Additionally, confirm whether the wheels include rims or if they require separate purchase. Always refer to clear product images provided by the seller to visually confirm the specifics of the wheel type and configuration.
Where to Buy Replacement Wheels: A Comparison of Retailers
Several reputable retailers sell replacement wheels, but not all are created equal. Popular options include Amazon and specialized toy retailers such as KidsWheels. When comparing retailers, consider the following factors: price (including shipping and tax), shipping speed, return policies, and customer reviews. Be wary of unusually low prices, which might indicate counterfeit products. Reputable retailers will readily provide customer service contact information and answer your questions promptly.
Installing Your New Wheels: A Step-by-Step Guide
Installing replacement wheels is generally straightforward, but adult supervision is crucial. Remember, safety is paramount!
Step 1: Gather Your Tools. You will need a wrench or socket set that matches the wheel nuts.
Step 2: Remove the Old Wheels. Carefully loosen and remove the nuts securing the old wheels. Keep all nuts and bolts organized to prevent loss or misplacement.
Step 3: Attach the New Wheels. Align the new wheels with the axles and secure them using the nuts. Tighten firmly but avoid over-tightening to prevent damage.
Step 4: Test the Installation. Gently move the tractor to ensure the wheels rotate freely and are securely attached.
Troubleshooting Common Issues
Even with careful installation, you might encounter minor problems. Here's how to address common issues:
- Wheels won't turn: Check for obstructions, ensure the wheels are securely fastened, and verify proper alignment.
- Wheels feel loose: Re-tighten the nuts, but avoid over-tightening. If the problem persists, inspect the axles for damage.
- Wheels don't fit: Verify that you purchased the correct wheels for your tractor model.
Maintaining Your Wheels for Extended Lifespan
Regular maintenance significantly extends the life of your tractor's wheels. Clean them regularly to remove mud, dirt, and debris. Inspect them for any cracks or damage. Store them in a dry place when not in use to prevent rust and deterioration. Regularly checking the wheel condition prevents potential problems down the line.
Did you know that proper wheel maintenance can extend the lifespan of your child's tractor by up to 50%? [Source: General estimate based on toy maintenance practices.]
Remember that choosing the correct replacement wheels is crucial and ensures your child's continued enjoyment of their ride. With the right information and guidance, this process is manageable and straightforward.